General Finish Milk Paint Ornaments
Starting With the Finish In Mind
Woodturning is fun and easy to learn. I started at eight years old in my dad’s basement shop. After a 22-year break serving in the Air Force, I returned to that same shop and picked it back up. I’ve now been turning—and teaching turning—for over 25 years.
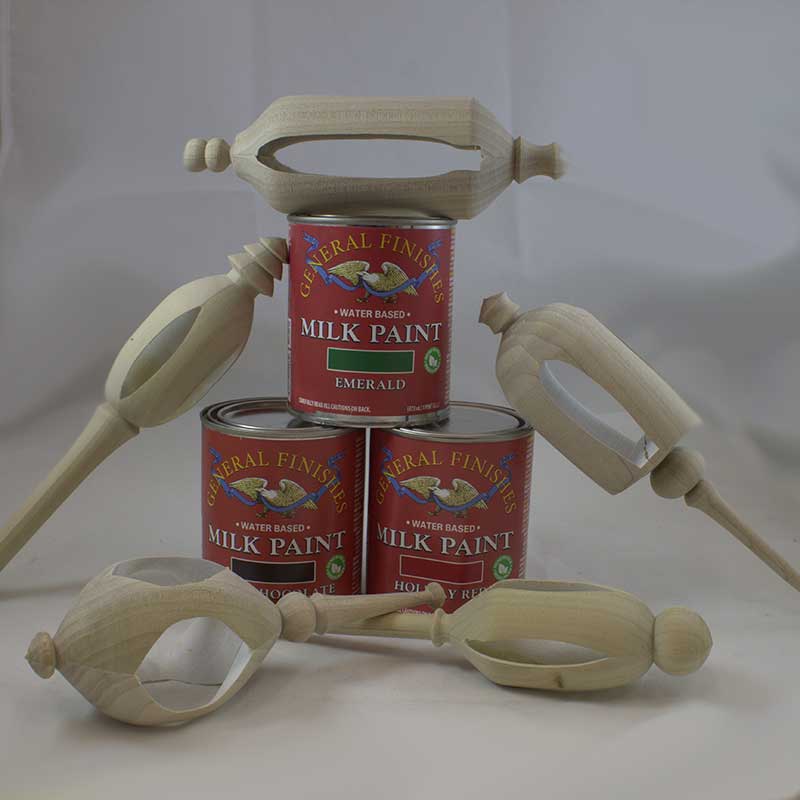
Last year, Tim and I were looking for a project for the team using General Finishes Milk Paint. I suggested inside-out turned ornaments that everyone could personalize for the holidays. I chose poplar—a great hardwood for painted projects.
Inside-out turning is straightforward once you understand the process. There are many creative designs out there, but if you’re new, start simple. Master the basics before attempting more intricate patterns. Begin with four equal pieces, about 1" x 1" x 8". Make sure all ends are perfectly square—this is critical for alignment when turning and reassembling. If needed, square them with a chop saw.
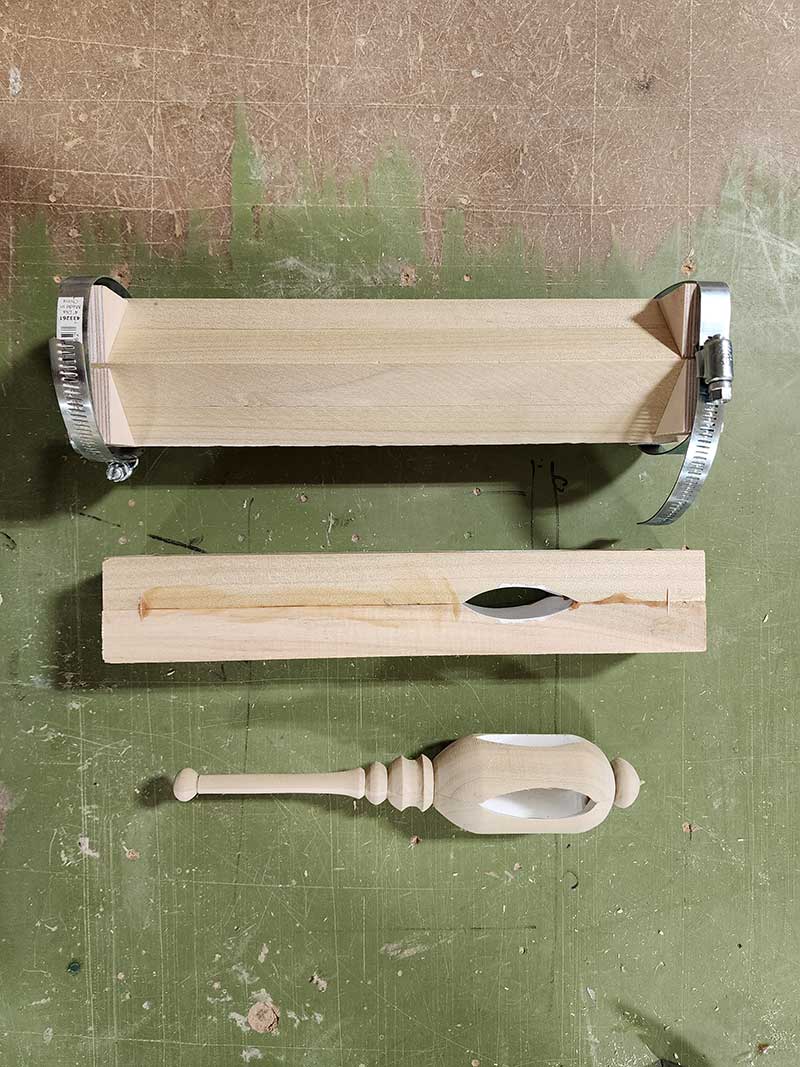
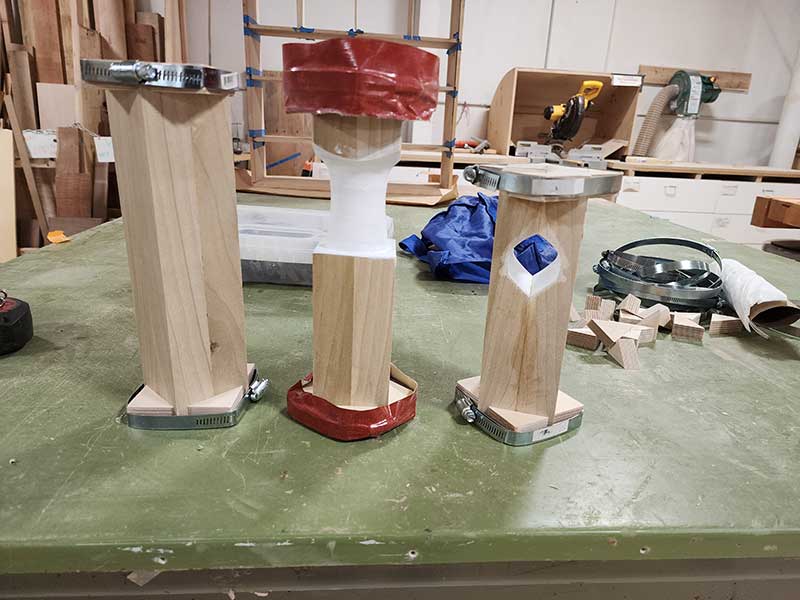
Arrange the four pieces into a square and number the corners, adding arrows pointing inward. This ensures you can reassemble them correctly later. To hold the pieces together for the first turning, I used hose clamps with small wood blocks across the joints. Wrapping the clamps with bright duct tape helps keep them secure and visible. The key is preventing any movement during turning.
With the blank assembled, use an awl to mark the exact center on each end. Mount it between centers on the lathe. Turn a simple cove near the top—this will become the “window” of the ornament. It doesn’t have to be perfect; focus on learning the process.
Now separate the pieces and reverse them—numbers facing inward, arrows pointing out. Glue the mating surfaces and clamp everything back together, making sure the ends align perfectly. This step creates the inside-out effect, so accuracy matters.
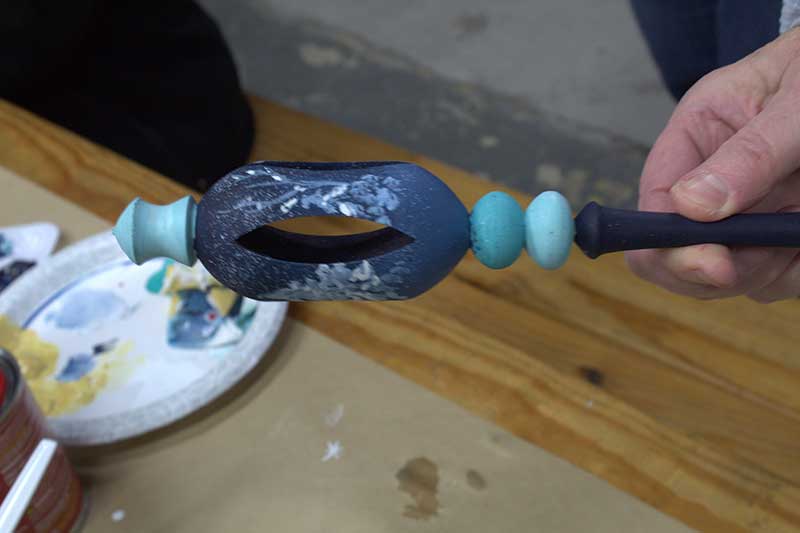
Once the glue is dry, remount the blank and begin turning the final shape. Bring the lathe up to about 1500 RPM and shape the ornament. Be careful not to make the “window” area too thin, or the top and bottom could separate. Shape the lower section into a finial, then refine the top.
Sand through the grits up to 400 at slower speeds. Take your time—check for tear-out or imperfections before moving to the next grit to avoid rework.
Reduce speed to around 250 RPM before parting off the bottom. Support the piece as you cut to prevent breakage. You can remove the top with a bandsaw or hand saw, then sand both ends smooth.
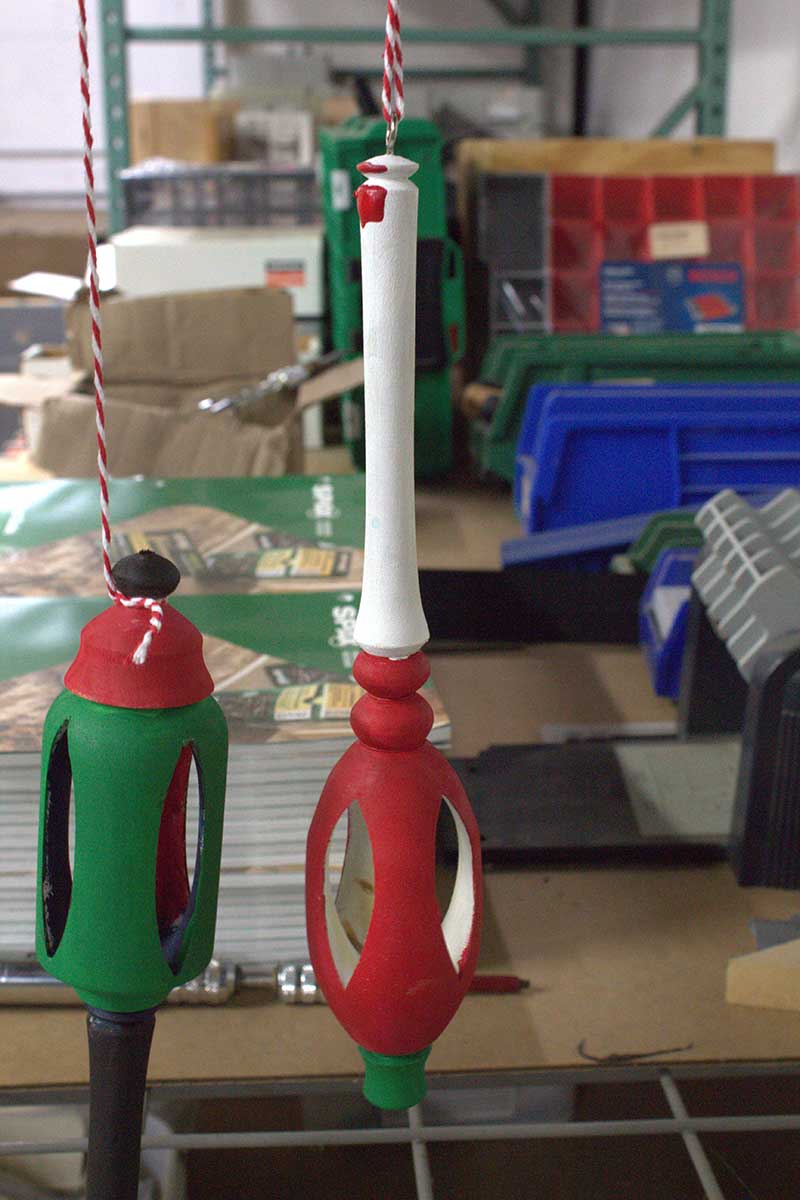
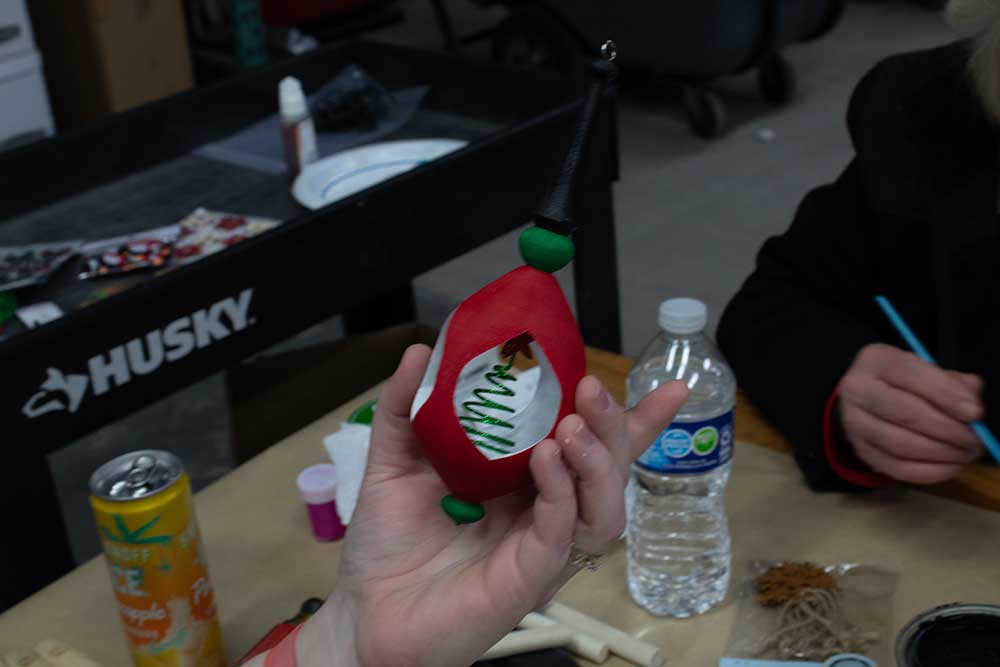
Install a small #7 brass screw eye hook for hanging.
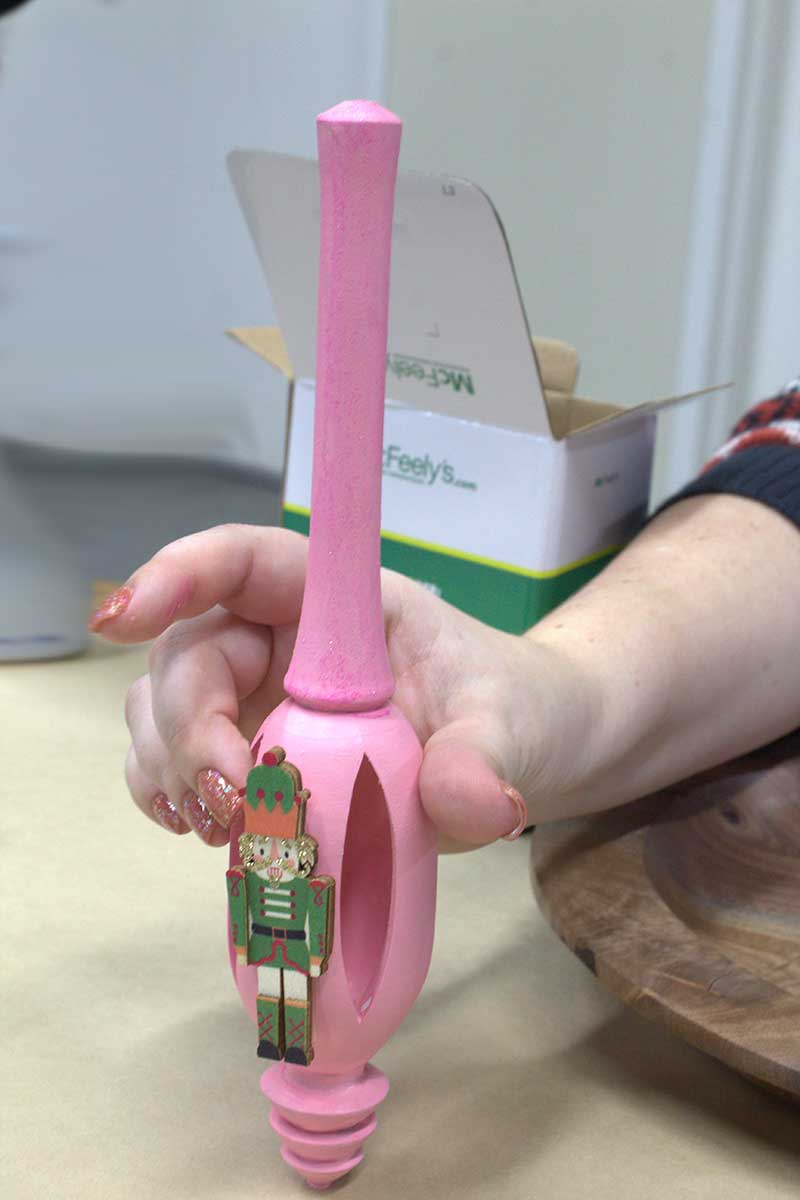
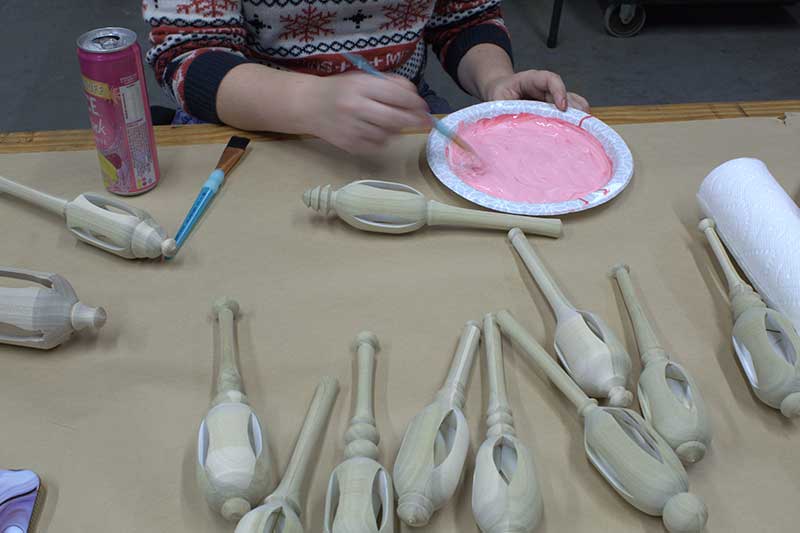
Finish the outside as desired. You can stuff tissue inside the ornament to protect the interior while applying finish.
Our team had a great time finishing these with General Finishes Milk Paint.

Login and Registration Form