My New Shop Storage Cabinet
By Don Roden
I recently decided to make a new, larger screw and fastener cabinet and somewhere to hang clamps around the outside. I selected ¾ in. Mexican Pine Lumber Core because it is better than the standard plywood that my previous one was built of. It was also less than half of the price of Baltic Birch Plywood.
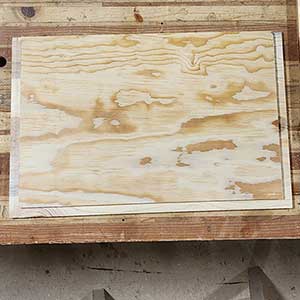
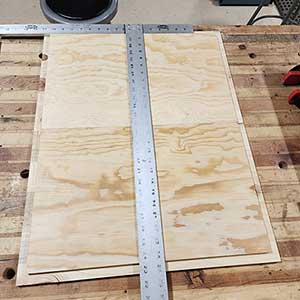
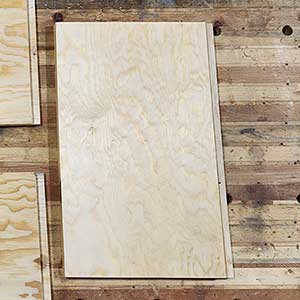
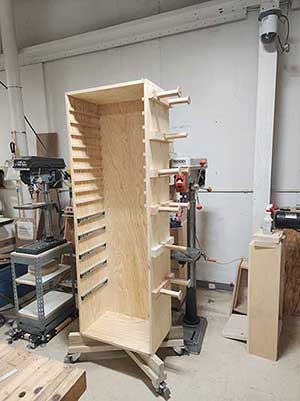
I made this one more significant than the last one to increase storage capacity. This one is 24 in. wide x 16 in. deep and 6 ft high. I cut the sides and top/bottom from one sheet of plywood. The back is cut from a second sheet of the same ¾ in plywood to provide great strength to stand up to the weight and allow me to hang clamps from the back of the cabinet. I started by cutting two 16-inch-wide strips from one sheet of plywood. Then I cut 24 in. from the end of each piece to create the cabinet's top and bottom.
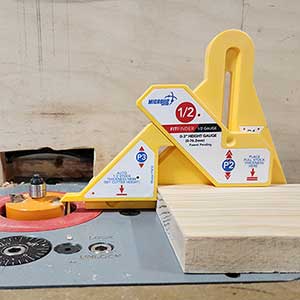
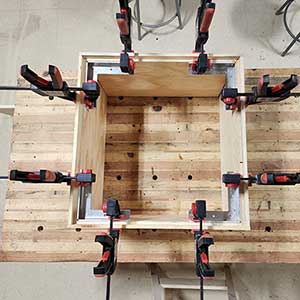
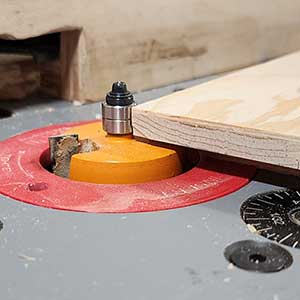
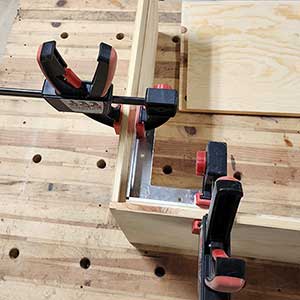
Next, I used the CMT Grand Rabbet Set to create a ¾ in. rabbet with the bit mounted in a router table. I created a rabbit on 3 sides of the sides, and one side of each of the top and bottom pieces. I used the MicroJig FitFinder to set the Rabbeting Bit height to exactly have the thickness of the plywood. Once all the rabbets were done, I laid out the sides with the front (non-rabbited edges) together. This allowed me to lay out the 5 drawer slides and shelves on the same lines. It also made installing the Grass Ball Bearing Full Extension Drawer Slides and the shelf positions easier. I used a drywall square to line up the drawer slides while I used the Undercut Drawer Slide Screws to mount the slides. For the shelves, I used ¾ in. / ¾ in. hardwood pieces that I have not used to make supports. Once all the drawer slides and shelf supports were mounted, I used Titbond III glue and used 1-1/4 in. FSL Screws to attach the sides to the bottom and top. I used Jevons 3-D Squares to ensure the corner joints were square.
Now that the carcass is together, I measured the size of the back piece from a second sheet of ¾ in. plywood. I cut and fit it into the rabbit created on the sides, top, and bottom. Once I test-fit it, I used glue and screws to secure the back in place.
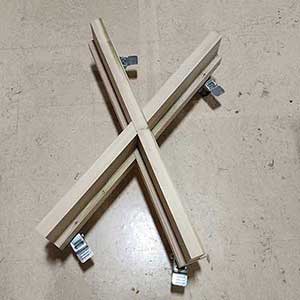
I used 8/4 x 3 in. high Poplar for the base and made an “X” that went corner to corner of the cabinet. I used the Trend Digital Angle Rule to figure out the angles. I made a dado in the center of the two cross pieces to create a locking joint for strength. I added additional pieces of 8/4 x 3 in. Poplar will make a matching “X” on the bottom of the base to make a platform for the casters. I used the same lap joint in the middle of the pieces for strength.
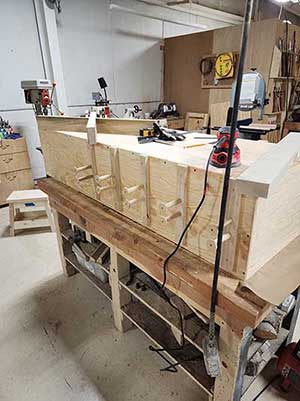
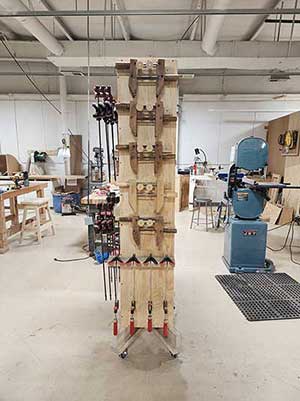
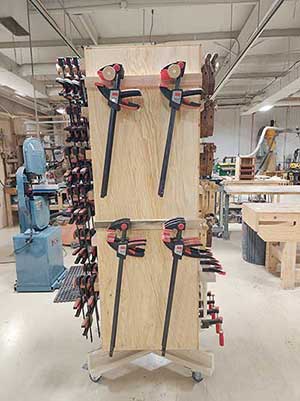
I made drawer boxes with ½ in. Baltic Birch Plywood I had on hand and ¼ in. Baltic Birch Plywood for the bottoms. After installing the drawer boxes with the slides and the boxes in the cabinet, it was to mount the clamp holders on the sides. For these, I cut and planned down some 2x4s to 1-1/2 in x 3 in. Using a Forstner Bit, I drilled holes partially through them to fit dowels from the Large Box of Mixed of End Cut Dowels to make my clamp holders. I drilled a pilot hole where the center of the Forstner Bit was left in the bottom of the hole. I drilled with the same Brad Point Drill Bit and Countersink from the back, holding the dowel in the hole. After applying glue, I put the dowel in the hole and ran a screw in the back to hold the dowel in place.
I mounted the strips to the outside of the case by attaching them to the cabinet with screws from the inside.
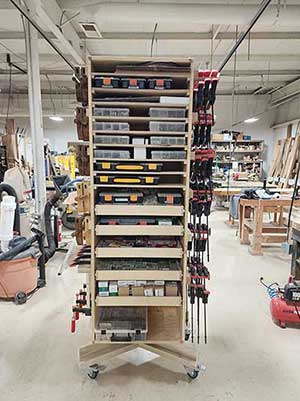
After all the strips were mounted, it was time to install the shelves and drawers and load them up.
Here are the tools and fasteners I used in building this cabinet.
- End Cut 10 in. to 12 in. Long Dowels - Large Box of Mixed
- CMT Grand Rabbet Set
- MicroJIg Fitfinder Gauge
- 8 x 1-1/2 in. Flat Head Wood Screws, Dry-Lube, Square
- Grass 400mm (Approx. 15.8 in.) Full Extension Ball Bearing Slides - 1 Pair
- Titebond III Ultimate Wood Glue - Bottle 16 Oz
- 6 x 5/8 in. Undercut Flat Head Mounting, Zinc, Phillips
- 3-D Square Precision Aluminum Clamping Corner


Login and Registration Form